Since its release in the 1980s, Microsoft Word has become a staple in society, with its uses ranging from professional documents to personal stories and everything in between. Kids now begin developing skills with Word and the rest of the Microsoft Office repertoire from an early age, leaving older generations in the dust. But, even though Word wasn’t around when they were young, developing those skills is still vital for anyone today.
Most notably, Microsoft Word is a necessity for any job hunt. Whether an employer wants you to demonstrate your word processing skills or you’re trying to make your resume look as good as possible, it could be the difference maker in you landing a job. Thankfully, there are countless edits you can make to your documents to make them look better than ever, with the help of plenty of helpful Microsoft Word shortcuts.
Some may seem no-brainers, while others are skills only the most well-trained Word users know. Either way, you likely aren’t familiar with all that Microsoft Word can do, so let’s break down some easy tricks to make your documents look even better
Use a header
Headers are a block of text that goes above the main body of text in your documents. They are generally a different font, size, or color, distinguishing them from the rest of the text, and they organize your page. A header can make all the difference in Microsoft Word by adding a bit of stylistic flare and boosting your document’s overall readability.
If you’re a student, chances are your assignments require some form of header at the top of your page, identifying the work as yours. Otherwise, headers help very long documents by splitting them up into sections, with each part having its own title.
If you aren’t familiar with headers, follow these steps to add one to your documents:
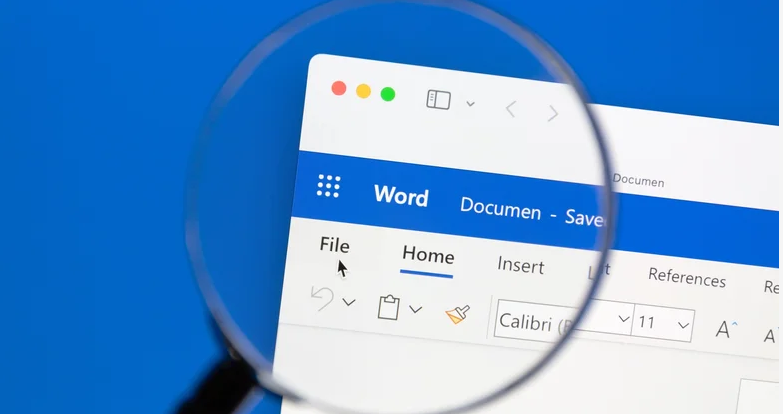
- Open a Microsoft Word document
- Click the Insert tab
- Click Header and choose a design from Word’s built-in style options
- Once selected, you can click on the header to edit the text.
Have proper spacing
Adjusting the spacing of your text can also drastically improve the readability of your Microsoft Word documents. Whatever the reasoning behind your text, whether it’s a class assignment, a personal project, or a professional document, there’s a specific line spacing you should use. Anything for school usually requires double spacing, while others specify or use Word’s default 1.15.
Here’s how to adjust your document’s line spacing:
- Open Microsoft Word.
- Select either a new blank sheet or an existing document.
- On the Home tab, find Line and Paragraph Spacing, usually represented by a symbol with up and down arrows next to a few lines.
- From the dropdown menu, select Line Spacing Options.
- In the Spacing section, click on Line Spacing and choose an option.
- Click OK once finished.
From this menu, you can adjust the spacing of your entire document or specific paragraphs. You can also set your default spacing option, so if you find yourself writing plenty of college essays, setting the default to double spacing would be a worthy change.
Adjust the Margins
Chances are, you won’t find yourself in a situation that requires you to adjust the margins in Microsoft Word, but it’s an easy change that could elevate the look of your document with just a few clicks. The standard is one-inch margins on all four sides, but depending on how much information you have — or your personal style preferences — Word lets users change them to any number.
Follow these steps to adjust your margins:
- Open a Microsoft Word document.
- Click on the Layout tab.
- Click Margins on the far left side.
- Select which margins you’d like from Microsoft premade options.
From the Margins dropdown menu, you can also select Custom Margins if none of the options are just right. This will open a popup allowing you to set custom measurements for every side of your document, down to the closest half inch. Once it’s perfect, click OK, and Word will automatically change your margins to the desired length.
Use columns when you can
Columns will be your best friend if you want to get really fancy with your Microsoft Word documents. Whether you’re putting together a newsletter, writing textbook entries, or just having a lot to say, columns will allow you to cram as much information as possible into your pages. However, keep in mind that columns aren’t standard for most school work, so don’t force them into your essays unless instructed.
Here’s how to add columns in Microsoft Word:
- Open a Word document.
- Click the Layout tab.
- Select Columns and choose which premade option you want.
These steps will format your entire document into designated columns. You can also format a specific section of text into a column by highlighting it, clicking Columns, then More Columns, and clicking Selected Text. Columns are a great way to organize your Word documents, improving the look and readability if you have an abundance of information. Newspapers frequent this style, making it an almost everlasting stylistic choice that could vastly improve the look of your Word documents.
Use the correct font
This one may seem like a no-brainer, but which font you use in Microsoft Word can make all the difference. In most scenarios, you want to use a professional font style and a standard font size for all your documents. Something easy to read. The last thing you want is an entire document written in Comic Sans or another font that screams unprofessionalism.
The standard is either an 11 or 12-point font, ensuring you have enough room to write while maintaining an easy-to-read professional style. As for the font style, Times New Roman is, without a doubt, the go-to font for any printed document, while Arial is the number one option for digital writing. If, for some reason, neither is available, Georgia and Calibri are great substitutes, respectively. Follow these steps to change your font in Microsoft Word:
- Open a Word document.
- Click the Home tab.
- In the Font section, click the font name to change it.
- Next to the font name, click the number to adjust the size.
You can change the font style, size, and color, but it’s best to leave it black, as something extravagant could be hard to read. If you want to use multiple fonts, highlight a section of text and select a new font. This will change the selected text while leaving the rest of the document in the default style.
We hope these tips have been helpful in your business. Please let us know if you have any questions about your IT environment or how to secure it from outside cyber threats. We are here for you! Contact us at (732) 780-8615 or email at [email protected].
Danny Bojic, “5 Microsoft Word Tricks To Make Your Documents Look Even Better“, slashgear.com, April 10th, 2024