 On Windows 10, you can print a document to PDF from any application, thanks to the built-in Print to PDF feature. You no longer have to use the old XPS Printer or install a third-party application.
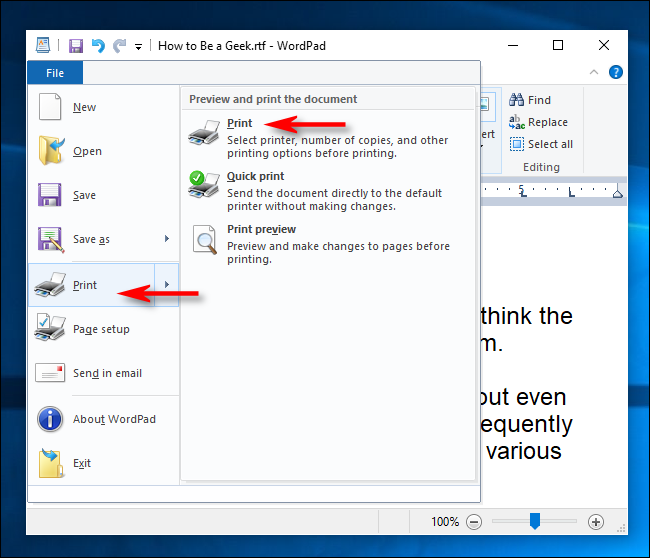
To get started, open the document you want to print to a PDF file. Find and open the Print dialog box in the application. Where this is located will vary by program, but you can usually go to File > Print, or just click a printer icon.
When the “Print” window opens, click “Microsoft Print to PDF” in the “Select Printer” section. Then, click “Print” at the bottom of the window.

When the “Save Print Output As” window appears, type a filename, and then select the location in which you want to save the file (such as Documents or Desktop). When you’re done, click “Save.”

The printed document will be saved as a PDF file in the location you chose. If you double-click the file you just created, you should see it the way it would appear if you printed a hard copy.
From there, you can copy your file, back it up, or save it for later reference.
Edwards,Ben. “How to Print to PDF on Windows 10″ How to Geek May 2020