
Microsoft Word gives you plenty of tools for composing and formatting most any type of document. But which of these features should you use to create professional looking documents? Here are several helpful tips.
Choose the Right Font for the Job
Whether you create a business document or college paper, pick an easy-to-read font.
 If you plan to print the document, you can choose a serif font like Times New Roman or Georgia. As the name implies, serif letters have serifs, which you might call wings or tails, that make the font look more ornate. These appear nicely on printed pieces.
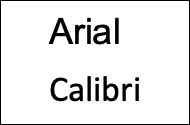 For digital documents, go for a sans serif font instead like Arial or Calibri. These font styles don’t have serifs (wings or tails) which make them easier to read on computer or mobile
device screens.
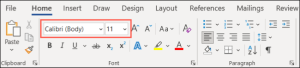
To change the font style, along with the size and color, head to the Home tab and Fonts section of the ribbon.
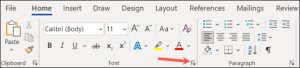
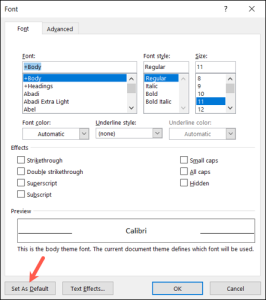
To change the default font for all documents, open the Font launcher using the small arrow in the bottom right corner.
Make your selection, pick “Set as Default,” and “OK.”
Adjust the Margins Appropriately
If you have a requirement for the margins, you can set them to the exact sizes you need easily. If not, the standard is one inch for all four sides. Depending on the type of document you’re creating, you may want smaller margins to accommodate tables or diagrams. In this case, you can go with the narrow margin settings at one-half inch on each side.
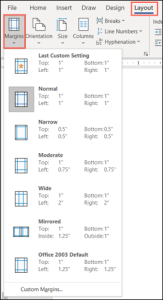
To adjust the margins, go to the Layout tab and open the Margins drop-down menu to make your selection.
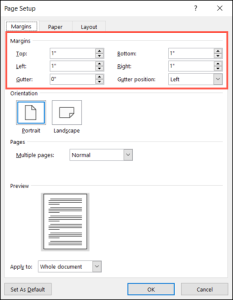
For margins at exact sizes, choose Custom Margins at the bottom of the list. Enter the measurements at the top, including the gutter if you like, and click “OK” to save the changes.
Note that you have additional options for Custom Margins in Word. You can use specifics per the page orientation, page type, and apply the margins to the whole document, a certain section, or from a point moving forward.
Choose the Right Line and Paragraph Spacing
Line and paragraph spacing can affect the readability of your document, so this is another formatting option to keep in mind. You may be required to double space something like a college essay but if not, the default for Word documents is 1.15 points which is appropriate for most document types.
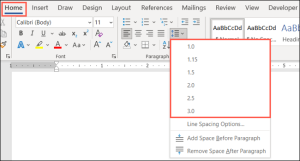
You can adjust the spacing from the Paragraph section on the Home tab. Select all text in your document or particular text if you prefer. Then, open the Line and Paragraph Spacing drop-down menu to make your selection.

To customize your spacing, pick “Line Spacing Options” in the list. Use the Spacing section on the Indents and Spacing tab to change the points before and after paragraphs. You can then use the Line Spacing drop-down box to pick Single, Double, or another option.
As you make your changes, you can see a preview at the bottom. When you’re happy with your choices, select “OK” to apply them. You can also use the Set as Default button to keep these settings for all future documents.
Adjust Your Indents
Again, if you have a requirement for how your indents should appear, we’ll show you how to adjust them. But many documents these days use left-aligned text. To break up the paragraphs, simply insert an extra line between them.
On the other hand, you may need to indent the first line of each paragraph with no extra spacing between paragraphs. This type of layout, called first line indent, is what you’d see in a book, for example.
Go to the Layout tab and use the Indent settings in the Paragraph section to change your current indents.
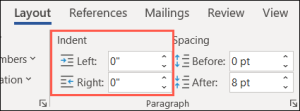

Alternatively, open the Paragraph launcher using the small arrow in the bottom right corner. You can then make your adjustments in the Indentation section of the Indents and Spacing tab. Add what you’d like for the left and right indents or pick a special option on the right like a First Line or Hanging indent.
Format Using Columns When They Fit
Columns have their places in certain types of documents like brochures and newsletters. If you’re creating this kind of document, head to the Layout tab and use the Columns drop-down menu to choose the number of columns.
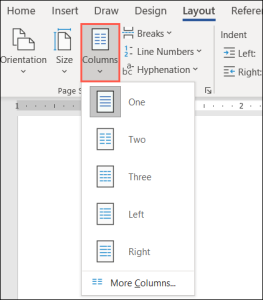
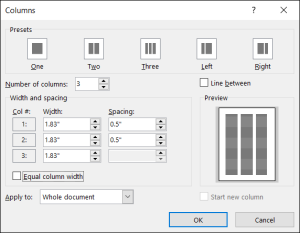
For additional options, select “More Columns” at the bottom. You can then use a preset, choose the width and spacing for each column, and apply it to the whole document or only certain portions.
Just keep in mind that columns are only useful if the type of document you’re composing warrants them. This gives your document a newspaper-style appearance which usually isn’t appropriate for school papers, business proposals, or company reports.
Add Headings to Identify Sections
If you have a lengthy document or one that could benefit from different sections, you can apply headings to identify the sections. Not only does this help visually separate the document for readability but is also useful for creating a table of contents.
To apply a heading, select the text and go to the Home tab. Use the box in the Styles section to pick Heading 1 or Heading 2, depending on the size and style you want.
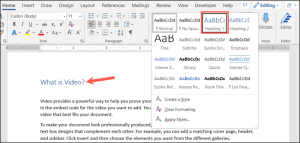
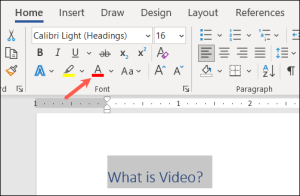
You can also change the color of the heading. For instance, it may display in blue and you want black. Select the heading and use the color drop-down box in the floating toolbar above the text or in the Font section on the Home tab.
Position Images Between Text and Paragraphs
Maybe you’re adding images to your document. You have many ways to adjust the appearance of your images in Word with one being how they’re positioned with the surrounding text.
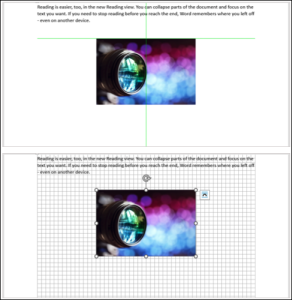
For example, you may have a small decorative image that can go within the text where the words wrap around it. Or maybe you have a large explanatory image that should stand on its own between paragraphs.
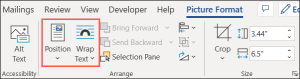
Select the image and click the Layout Options button that appears on the top right (Windows only).
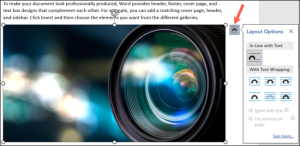
Alternatively, go to the Picture Format tab and use the Position and Wrap Text drop-down menus in the Arrange section of the ribbon.
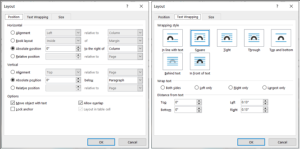
You can then wrap the text around the image with different spacing options, place the text on the top and bottom of the image, or wrap the text around only the left or right side.
For even more options, select “See More” in the Layout Options pop-up window or “More Layout Options” in the Position or Wrap Text menu.
Use Alignment Tools for Images and Objects
One more tip to make your document look fantastic is to use Word’s alignment tools for things like images, shapes, or objects. You can use Alignment Guides which only display as you move the element on the page or Grid-lines which appear and remain as soon as you enable them.
These two tools can help you equally space and place your items next to each other for a neat and tidy appearance.
Tip: For help moving your pictures, look at our how-to for freely moving images in Word.
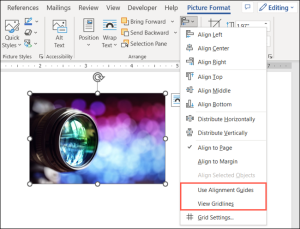
Head to the Picture Format, Shape Format, or Graphics Format tab, depending on the type of item you use. Then, open the Align drop-down box to choose “Use Alignment Guides” or “View Grid-lines.” Note that you can’t use both at the same time.
Hopefully these suggestions have you on your way to a professional-looking Word document.
Sandy Writtenhouse, “8 Microsoft Word Tips for Professional Looking Documents”, howtogeek.com, Jan 31, 2023